Make Your First LLM API Call in Python
Make your first LLM API call in Python using the OpenAI-compatible SDK. Set up a client, keep your key safe, and get a real model response.
A model running on someone else's GPU is no use to you until your code can talk to it. That conversation is one HTTP request: you send some text, you get some text back. In this lesson you'll set up a client, send your first message, and print the model's reply. That's about fifteen lines of Python, and the foundation every later lesson in this series builds on.
We'll do it provider-agnostic. The exact same code will run against a hosted API or a model on your own laptop, because they all speak the same protocol. More on that below.
Install the SDK
You talk to the model through the openai Python package. The name is historical baggage. The SDK speaks a protocol that dozens of providers implement, not just OpenAI's own service. We'll lean on that hard.
Make a virtual environment first so this project's packages stay out of your system Python. If the venv and pip steps look unfamiliar, the modules, pip and virtual environments lesson covers exactly what's happening here.
python3 -m venv .venv
source .venv/bin/activate      # Windows: .venv\Scripts\activate
pip install openai python-dotenv
openai is the client. python-dotenv reads a .env file so you can keep your API key out of your code. We'll use it in a minute.
Get a key, and don't leak it
You need two things from a provider: a base URL (the endpoint your requests go to) and an API key (proof it's you, and what gets billed). Sign up with any OpenAI-compatible provider, create a key in their dashboard, and copy it once, because most show it exactly one time.
That key is a password to your account's spending. Treat it like one.
Never put your key in your code
A key hard-coded in a .py file ends up in your git history, and a key pushed to a public repo gets scraped by bots within minutes — people run scripts that watch new GitHub commits for exactly this. The fix is two parts: keep keys in environment variables, and add your secrets file to .gitignore so it never gets committed. If a key ever does leak, revoke it in the dashboard immediately and issue a new one. Revoking is instant and free. A stranger draining your balance is neither.
Put your credentials in a file called .env in your project root:
LLM_BASE_URL=https://api.your-provider.com/v1
LLM_API_KEY=sk-your-real-key-goes-here
LLM_MODEL=gpt-4o-mini
Swap in the real base URL and model name your provider gives you. Then, before you do anything else, make sure that file can never be committed:
.env
.venv/
The canonical client
Here's the setup. Every lesson in this series starts from these exact lines, so it's worth understanding each one.
import os
from dotenv import load_dotenv
from openai import OpenAI

load_dotenv()  # read .env into environment variables

client = OpenAI(
    base_url=os.environ["LLM_BASE_URL"],
    api_key=os.environ["LLM_API_KEY"],
)
MODEL = os.environ.get("LLM_MODEL", "gpt-4o-mini")
load_dotenv() reads your .env file and loads each line as an environment variable, so os.environ["LLM_API_KEY"] finds your key without it ever appearing in the source. OpenAI(...) builds a client object pointed at your provider's endpoint. MODEL comes from the environment too, with a fallback. os.environ.get returns the default instead of crashing if the variable isn't set, which beats hard-coding a model name three different files will disagree about later.
Three values do all the work here, and they're the only three you ever change to switch providers:
base_urlis where requests go.api_keyis who's asking (and paying).MODELis which model answers.
The Python around them never changes. That's the whole point of building on the OpenAI-compatible protocol: write your app once, run it against anything.
Send your first message
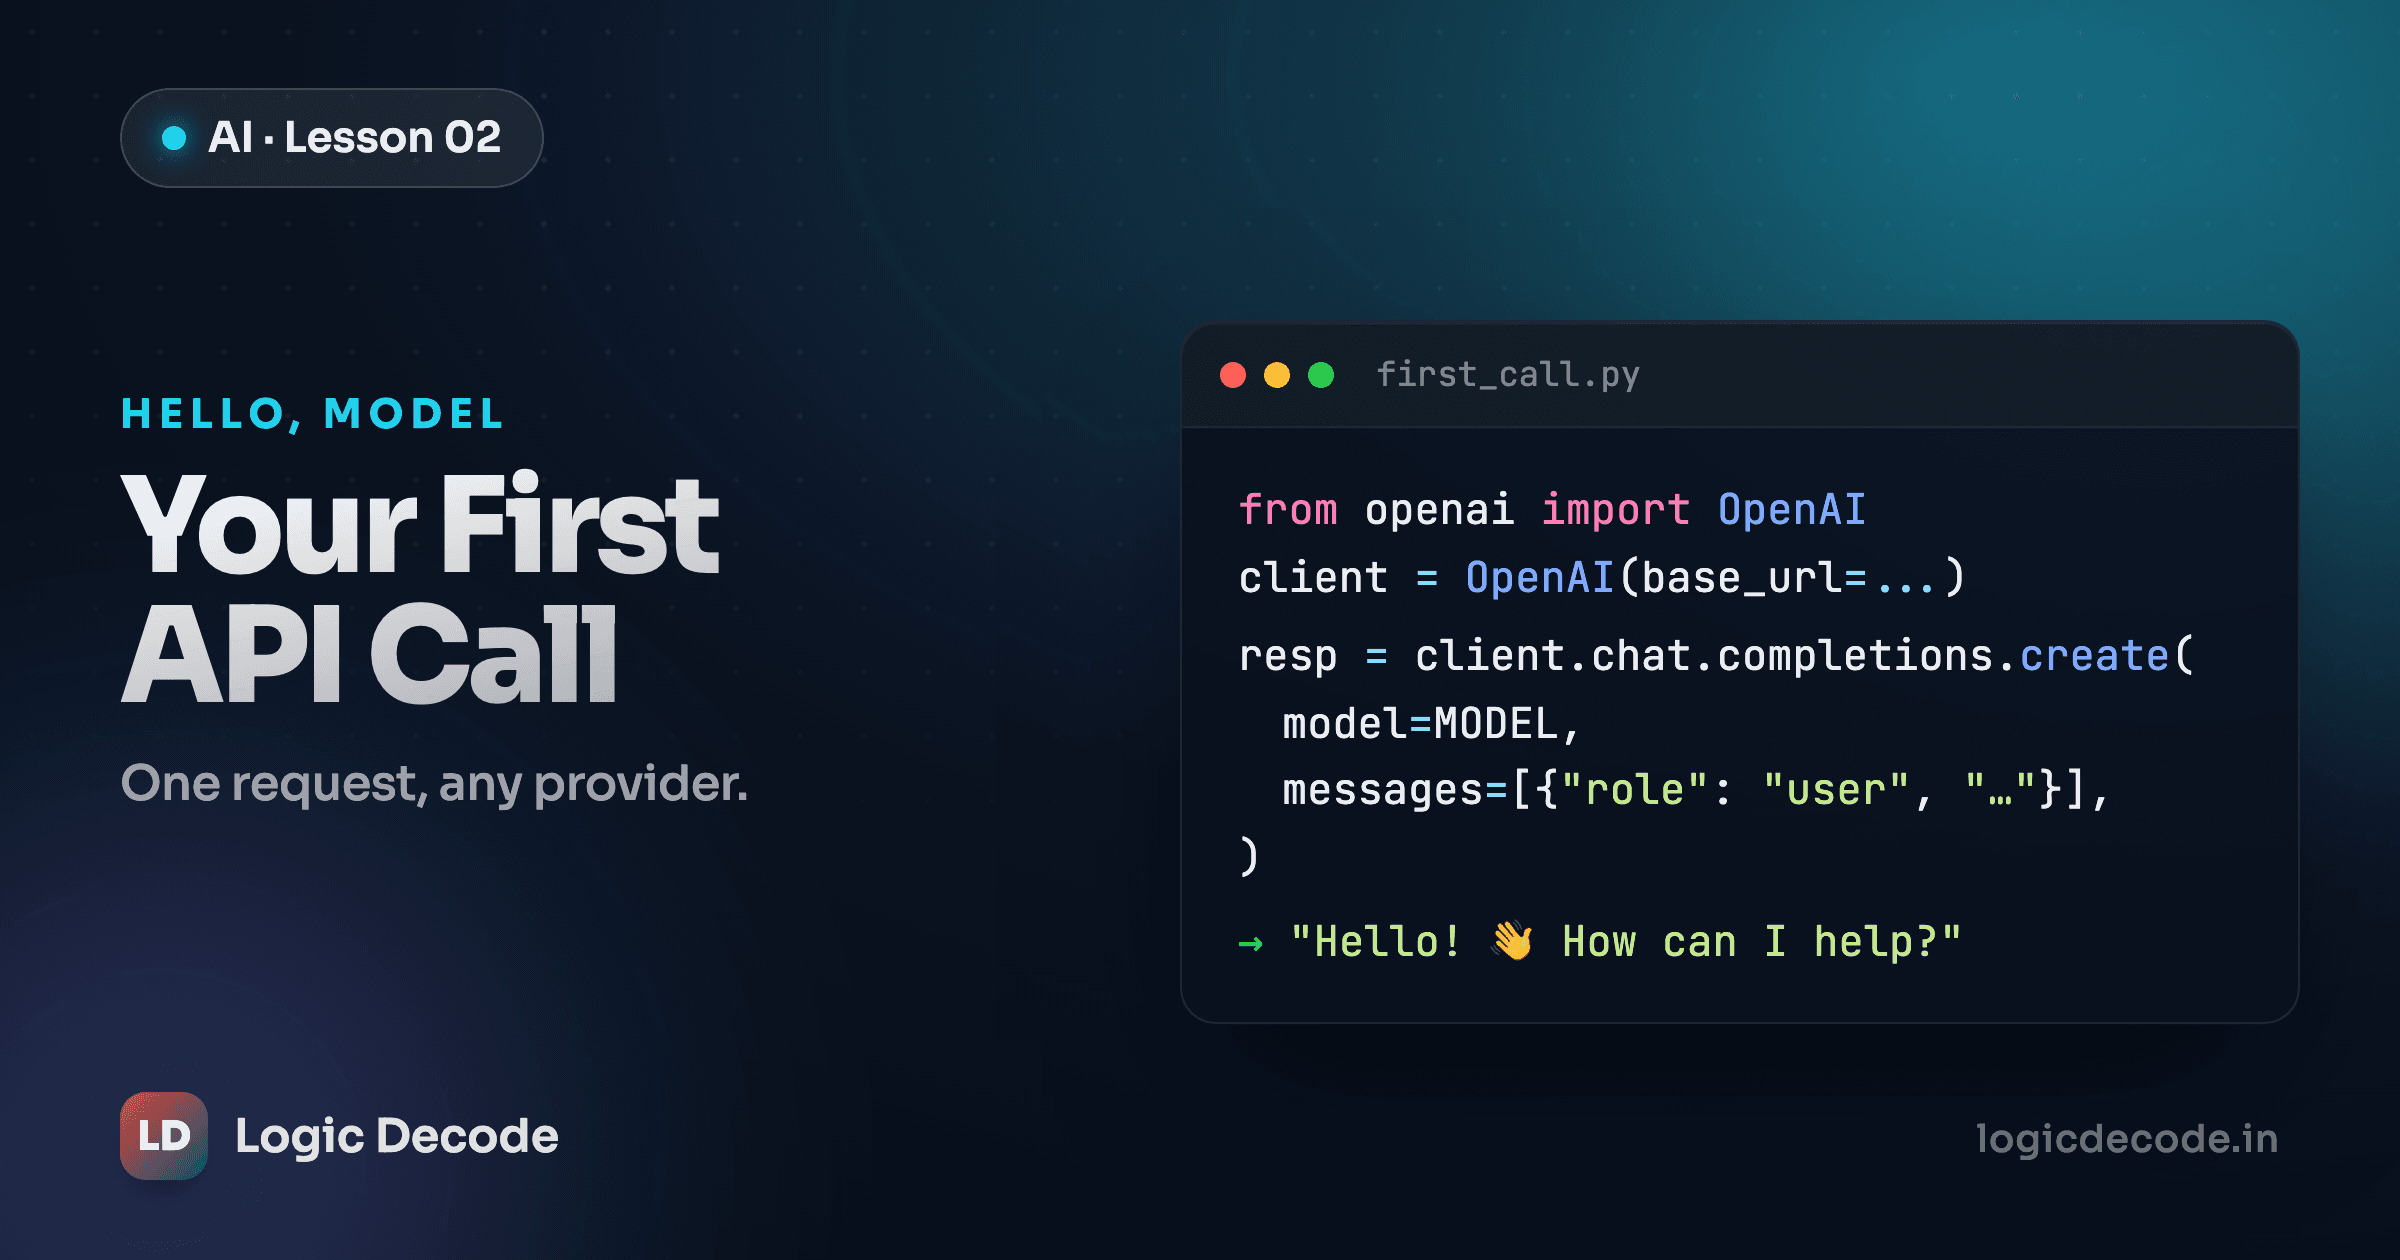
Now the actual call. Add this to the bottom of client.py:
resp = client.chat.completions.create(
    model=MODEL,
    messages=[
        {"role": "user", "content": "Explain what an API is in one sentence."}
    ],
)

text = resp.choices[0].message.content
print(text)
Run it:
python client.pyYou should see a one-sentence answer print to your terminal. That's a live LLM responding to you. Let's unpack the call, because this shape (messages in, choices[0].message.content out) is the spine of everything from here on.
client.chat.completions.create(...) sends the request and blocks until the model replies. model=MODEL picks which model. messages is a list of message objects, each with a role and content. For now we send one message with the role "user", which means "this is from the human." The next lesson on prompts and the message format is entirely about the other roles and how to use them.
Under the hood, that one call is a quick round trip out to the provider and back:
The response comes back as an object, not a plain string. resp.choices is a list (the API can return more than one candidate completion) and you almost always want the first, choices[0]. Inside it, .message.content is the actual text. So resp.choices[0].message.content reads as: first choice → its message → the text of that message.
Same model, different answer
Run that script twice and you'll likely get two different sentences. LLMs are probabilistic. They sample their next word from a distribution, so the same prompt can produce different output each time. That's a feature, not a bug, and lesson 5 shows how to turn the randomness up or down with the temperature setting.
Switching providers is an env change, not a code change
Here's the payoff for keeping everything in environment variables. The same client.py runs against a hosted API or a model on your own machine. You change .env, not Python.
LLM_BASE_URL=https://api.your-provider.com/v1
LLM_API_KEY=sk-your-real-key-goes-here
LLM_MODEL=gpt-4o-mini
Same code, both times. OpenAI, Groq, Together, Fireworks, OpenRouter, a local Ollama or llama.cpp server: they all implement this /v1/chat/completions shape, so your app doesn't care which one is on the other end. You can prototype against a cheap hosted model and later point the same script at a local one for privacy, or shop around on price, without rewriting a thing.
A word on cost: each provider prices per token, and the rate moves, so don't memorize a number from a blog post. Check your provider's current pricing page. We dig into how tokens turn into a bill in lesson 11. For now, a few one-sentence test calls cost a fraction of a cent, if anything.
Quick check
You want to run the exact same script against a different LLM provider. What do you change?
What you've got, and what's next
You now have a working LLM client: a virtual environment with the openai SDK installed, a key kept safely in a git-ignored .env, a client wired up from three environment variables, and a real model response printed to your terminal. The send-messages, read-choices[0].message.content pattern is the one you'll use in every lesson that follows.
The official openai-python README is the reference for everything the client can do, so keep it open as you go.
Right now you're sending a single bare user message. That leaves most of the model's behavior on the table. Next we shape the conversation properly with system and assistant roles in prompts and the message format, the difference between a model that does what you want and one that wanders off.

Written by
Rhythm Bhiwani
Engineer and relentless builder, happiest reverse-engineering hard problems until they click.
Enjoyed this?
Tap the heart to leave some love.
Be the first to react
Comments
Join the conversation.
Loading comments…