Pull Requests and Collaborating on GitHub
How teams ship with GitHub: branches, opening a pull request, code review, and merging, plus forks for open source. The everyday collaboration loop.

You can push straight to main and skip everyone. You can also email your code changes to a coworker as a zip file. Both work, and both are how you get a reputation. The way real teams ship is the pull request: you do your work on a branch, push it, and ask "can someone look at this before it goes in?" That one question, look before it merges, is the whole reason pull requests exist, and the loop you'll run dozens of times a week on any team.
Why a pull request, not just a push
You already know how to push a branch to GitHub from the last lesson. So why not push your work to main and be done?
Because main is the branch everyone trusts. It's what gets deployed, what teammates pull from every morning, what the build runs against. The moment broken code lands there, it's everyone's problem. A pull request (PR) puts a checkpoint between "I wrote some code" and "it's in the branch we all depend on." Someone reads it first. Tests run against it first. You catch the obvious mistakes before they cost a teammate an afternoon.
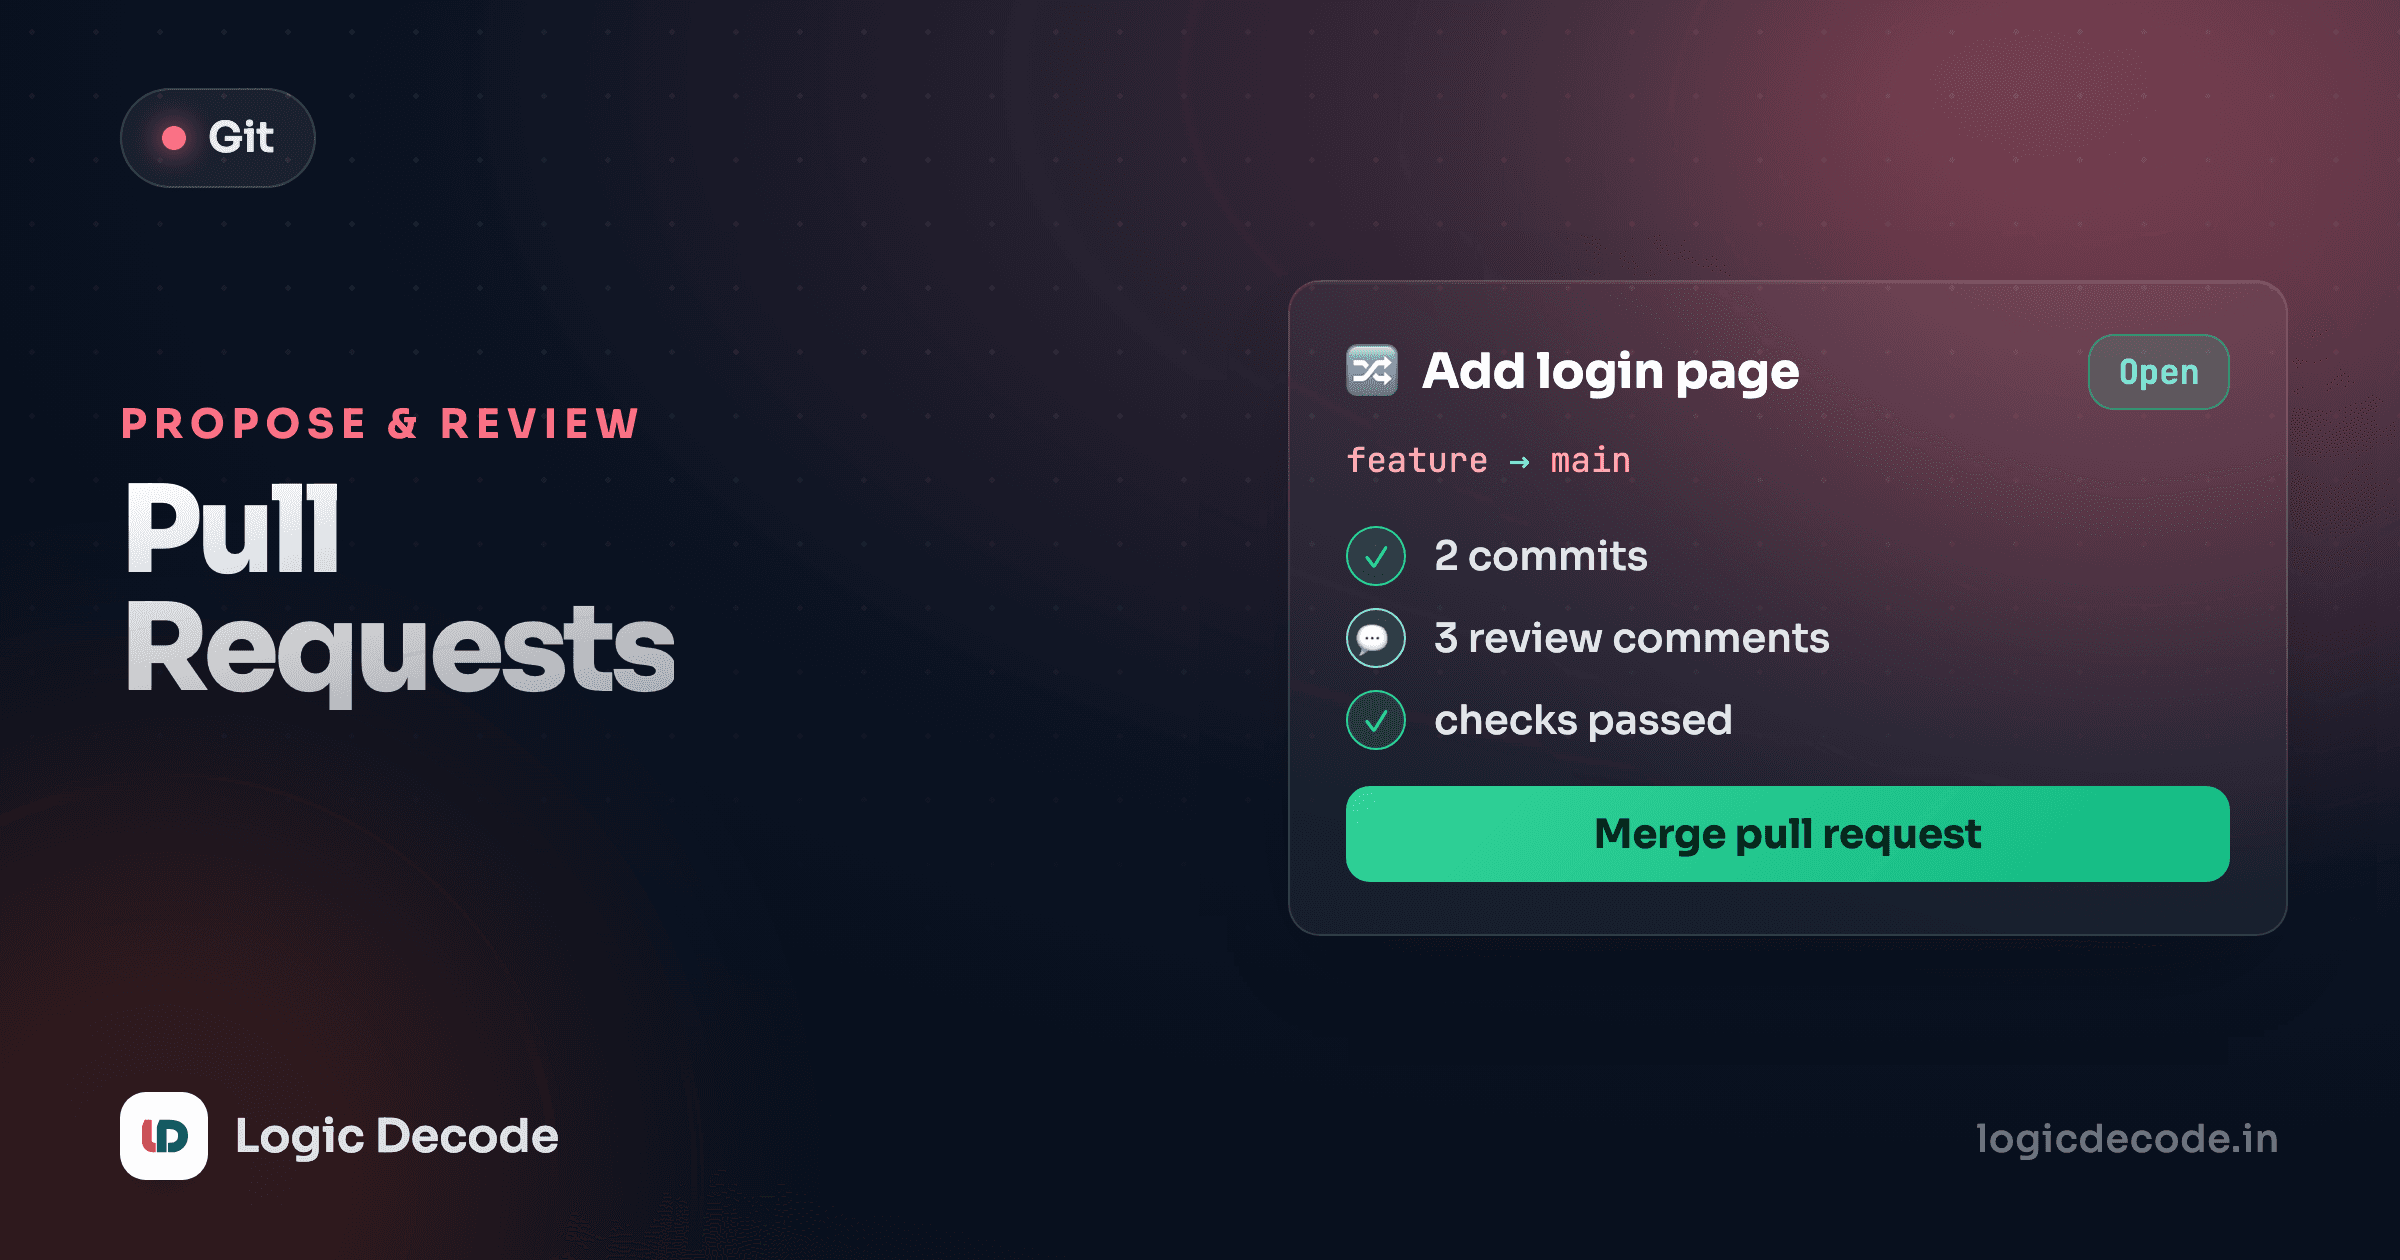
A pull request is really just a proposal: "here's the difference between my branch and main. Please review it and, if it's good, merge it." GitHub wraps that proposal in a page where people can comment on specific lines, suggest fixes, see the test results, and hit a button to merge. GitHub's own about pull requests page is the canonical reference, but the shape is simple enough that you'll have it memorized after a couple of tries.
The everyday loop
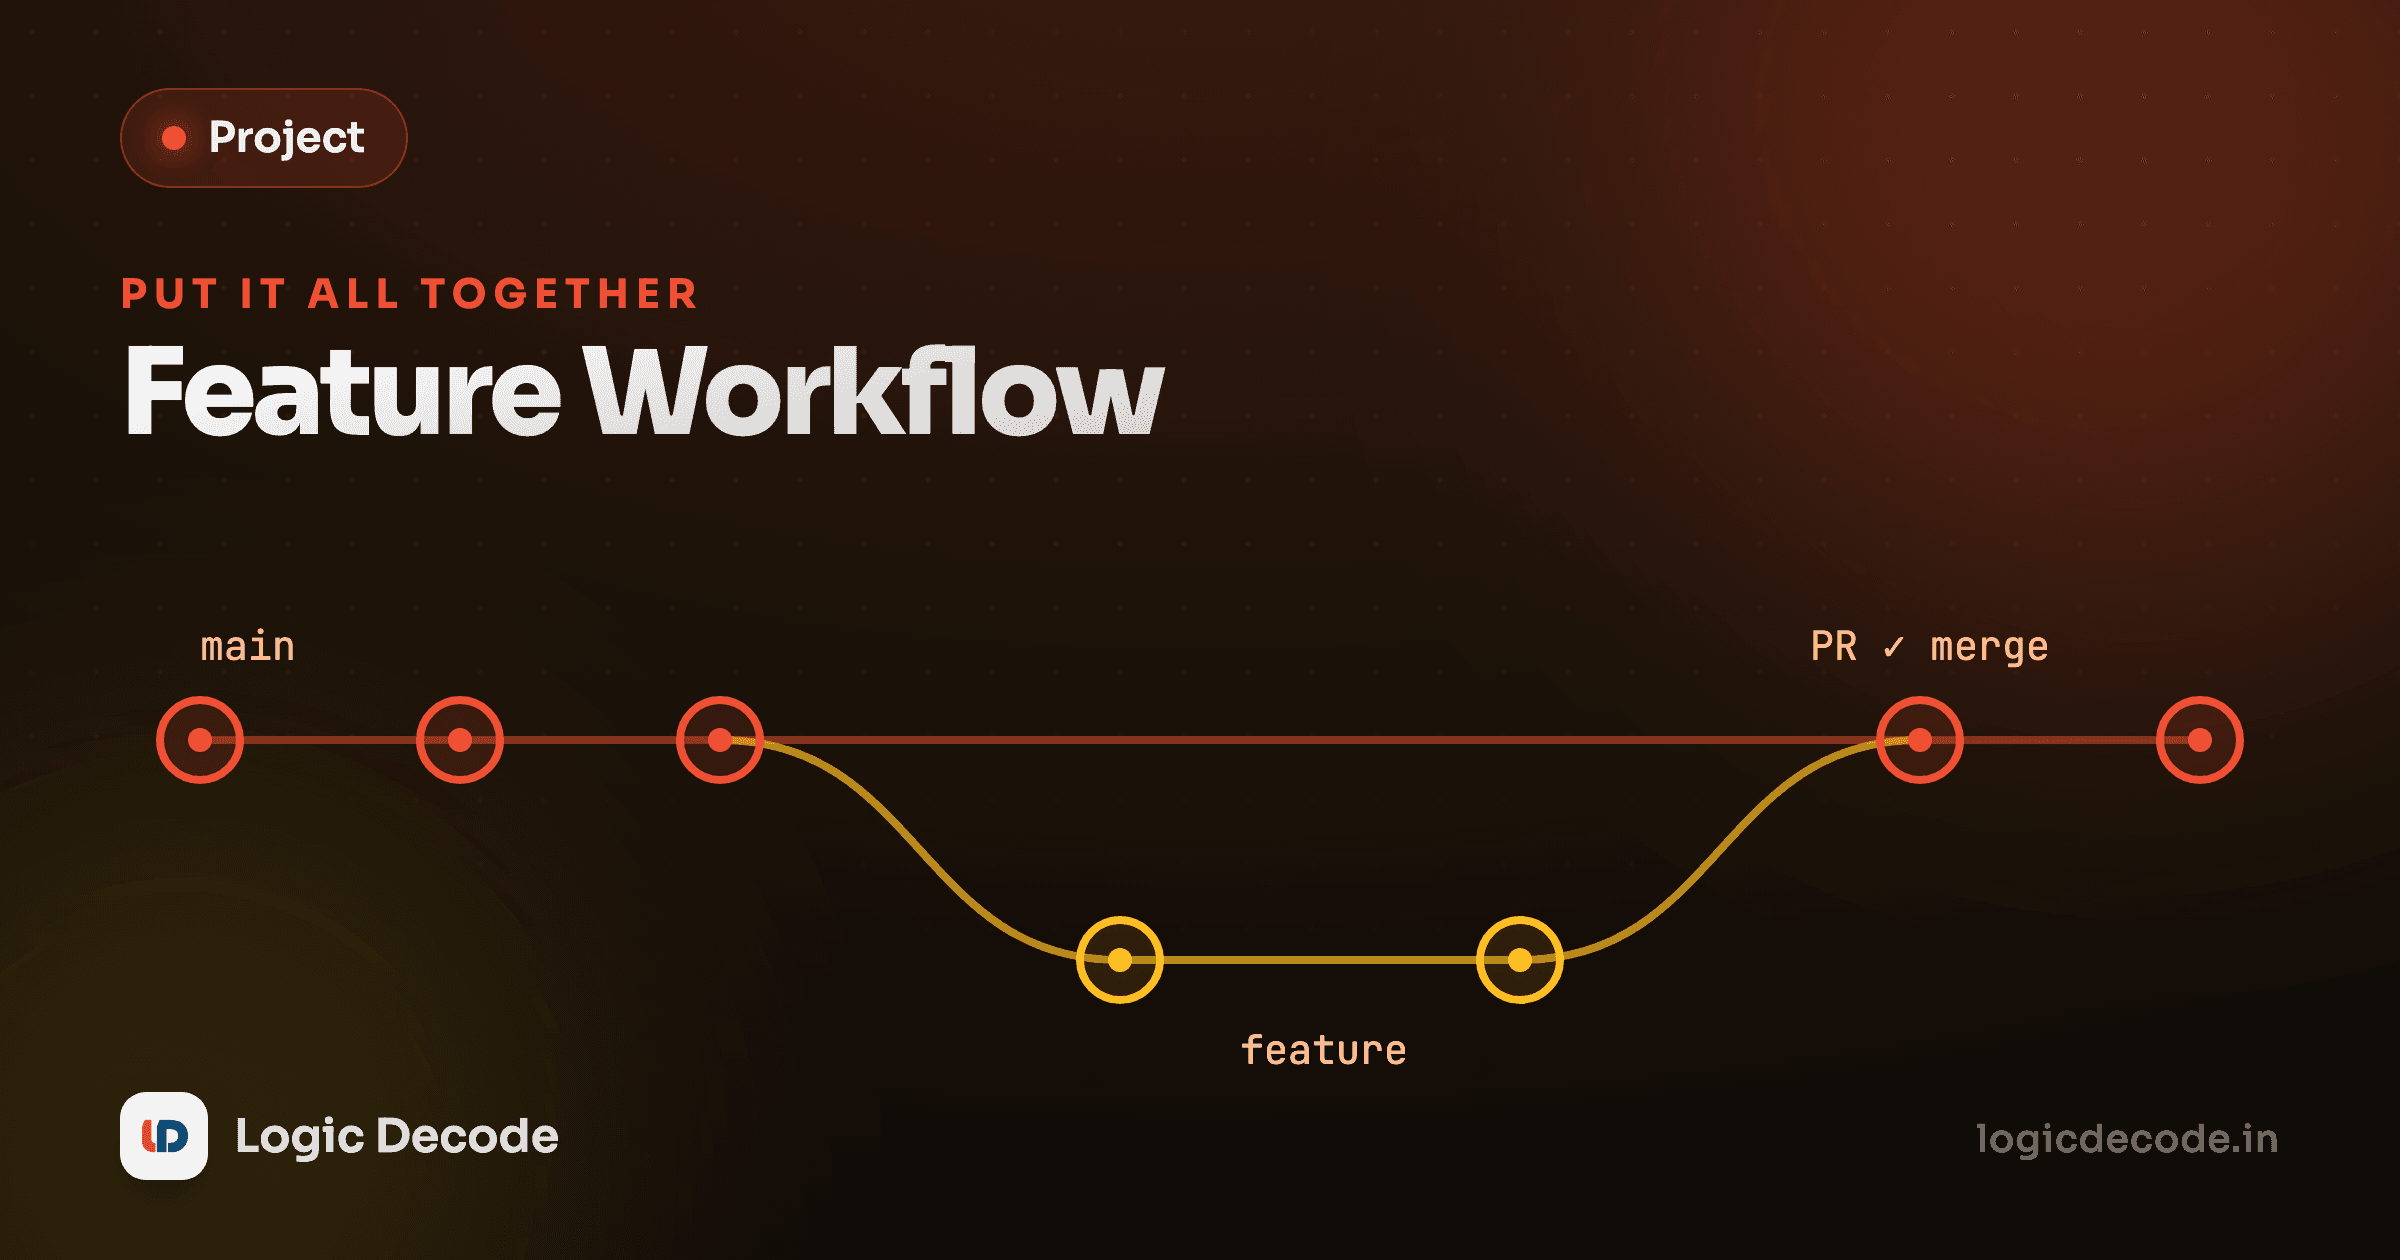
Here's the cycle in one picture. You'll run it constantly, so it's worth holding the whole shape in your head:
Notice the loop back from review to commit, the part beginners forget exists. A PR isn't a one-shot submission. Review comes back, you push more commits to the same branch, and the PR updates itself automatically. Let's walk each step with real commands.
1. Create a branch and do the work
Never start a feature on main. Branch off it so your work stays isolated:
git switch -c add-search-barThat creates the branch add-search-bar and moves you onto it in one go. (Branches were covered earlier in the series, and git switch -c is just "create and switch.") Do your work, then commit it like always:
git add .
git commit -m "Add search bar to the header"
2. Push the branch to GitHub
Your branch only exists on your machine until you push it:
git push -u origin add-search-barThe -u sets the upstream, so future pushes on this branch are just git push. Watch the output, because GitHub prints a ready-made link to open the PR:
remote: Create a pull request for 'add-search-bar' on GitHub by visiting:
remote:   https://github.com/your-team/your-repo/pull/new/add-search-bar
3. Open the pull request
Click that link (or go to the repo and hit the "Compare & pull request" button GitHub shows after a push). You'll pick the base branch (what you're merging into, usually main) and the compare branch, which is add-search-bar. Give it a clear title and a description, and create it. That's the PR.
Skip the browser with the gh CLI
GitHub's official command-line tool opens a PR without leaving the terminal:
gh pr create --base main --title "Add search bar" --webThe --web flag drops you into the browser to finish writing the description. Once you've used gh a few times, it's faster than clicking around.
4. Get reviewed, address comments
A teammate opens your PR and reads the diff. They might approve it outright, or leave comments on the whole PR or pinned to specific lines ("this should handle an empty query"). GitHub even lets reviewers suggest exact code changes you can accept with a click.
When changes are requested, you don't open a new PR. You fix the code on the same branch and push again:
git add .
git commit -m "Handle empty search query"
git push
The PR picks up the new commit automatically. The diff updates, the reviewer gets pinged, and the conversation continues in place. This back-and-forth is normal and good. Even senior engineers get review comments, and that's the system working.
5. Merge, then delete the branch
Once the PR is approved (and any required checks pass), someone clicks Merge pull request. Your changes flow into main, and everyone who pulls now gets your search bar. GitHub then offers a Delete branch button, so take it. The branch did its job, and leaving it around just clutters the repo. Back on your machine, clean up too:
git switch main
git pull
git branch -d add-search-bar
You switch back to main, pull the freshly merged code, and delete the local branch. Now you're ready to branch off again for the next thing.
Quick check
A reviewer requests changes on your open pull request. What do you do?
Two things you'll meet fast: draft PRs and CI checks
Draft PRs let you open a pull request that's explicitly not ready for review. They're perfect for sharing work-in-progress or kicking off the automated checks early without pinging reviewers. Open it as a draft (gh pr create --draft, or pick "Create draft pull request" in the UI), then click "Ready for review" when it's actually done.
CI checks are automated jobs (tests, linters, builds) that run against your PR the moment you open or update it, showing a green check or a red X right on the page. Most teams require them to pass before the merge button unlocks, so a red check means "fix this before anyone even reviews."
Forks vs branches: when you don't have write access
Everything above assumes you can push branches to the repo, which is true for your own projects and your team's. But you can't push to, say, the React repository, because you don't have write access. That's where forks come in, and it's how open source works.
A fork is your own full copy of someone else's repo, living under your GitHub account. You have write access to your fork, so the loop becomes: fork the repo, clone your fork, branch, commit, push to your fork, then open a PR from your fork's branch back to the original ("upstream") repo. The maintainers review and merge it just like any other PR.
So the rule of thumb is simple. Have write access? Branch directly in the repo. No write access, like contributing to a project you don't own? Fork it first, then PR from your fork. The review-and-merge half is identical either way.
GitHub flow in one line
Branch off main, commit, push, open a PR, get it reviewed, merge, delete the branch. That's "GitHub flow," and it's the default workflow for most teams and nearly all open source.
What makes a good pull request
The mechanics are easy. The thing that separates a PR people enjoy reviewing from one they dread comes down to two habits:
Keep it small. A PR that touches 40 files across three features is misery to review. Nobody can hold it in their head, so it gets a lazy "looks good" or sits ignored for days. One PR, one logical change. A reviewer who can understand the whole thing in a few minutes gives you a real review and a fast merge.
Write a clear description. The title says what, and the body says why and how to check it. A reviewer landing on your PR cold should learn what problem it solves, the gist of your approach, and how to verify it works. A few sentences beats a wall of text. If the repo has a PR template (a pre-filled checklist that appears when you open one), fill it out. It's there because the maintainers told you exactly what they want to know.
Do those two things and you'll be the teammate whose PRs sail through.
Recap and what's next
A pull request is the everyday way teams ship: you branch off main, commit, push, and open a PR so your code gets reviewed before it merges. The loop is create branch → commit → push → open PR → review and address comments on the same branch → merge → delete the branch. Draft PRs share work that isn't ready, and CI checks gate the merge with automated tests. When you don't have write access, like contributing to open source, you fork first and PR from your fork. And the PRs people love to review are small with a clear description.
You now know how to get your work merged. But there's a quieter decision baked into every merge: how the history actually gets stitched together. Next up: rebase vs merge, where you'll learn the two ways Git combines branches, and when to reach for each.

Written by
Rhythm Bhiwani
Engineer and relentless builder, happiest reverse-engineering hard problems until they click.
Enjoyed this?
Tap the heart to leave some love.
Be the first to react
Comments
Join the conversation.
Loading comments…