Git Basics: Create Your First Repository
Install Git, set your name and email, run git init, and read git status. The very first steps to put a project under version control.

You decided you want version control. Good. Now you actually have to put a folder under Git, and that's where most tutorials hand-wave past four commands that do completely different things. This lesson walks through all of them slowly: installing Git, telling Git who you are, turning a real folder into a repository, and reading what Git tells you back. Twenty minutes from now you'll have a tracked project on your machine.
Install Git and check the version
First, get Git on your machine. Head to git-scm.com and grab the installer for your operating system. macOS, Windows, and Linux all have one-click downloads. On a Mac you can also run brew install git. On Ubuntu or Debian it's sudo apt install git. Pick whichever fits how you already install things.
The only thing that matters is that it worked. Open a terminal and ask Git its version:
git --versionYou should see something like git version 2.45.2. The exact number doesn't matter much. Anything 2.x is fine, and Git is very good about not breaking old behavior. If instead you get command not found, Git either didn't install or isn't on your PATH yet. Close the terminal, open a fresh one, and try again. A new terminal session picks up the install most of the time.
One install, then forget it
You install Git once per machine. After this, every project on that computer can use it. There's nothing to install per-project.
Tell Git who you are
Git stamps every commit you make with a name and an email. It needs to know yours before you save anything, so this is a one-time setup you do right after installing. Run these two commands, with your own details:
git config --global user.name "Maya Chen"
git config --global user.email "maya@example.com"
The --global flag means "use this for every repository on this machine," so you set it once and never think about it again. (You can override it per-project later if you ever need a different identity for work versus personal repos, but skip that for now.)
The email matters more than people expect. When you push to GitHub later in this series, GitHub matches commits to your account by this email, so use the same address you'll sign up with there. Get it wrong and your commits show up as some stranger instead of you.
While you're here, set the default branch name to main. Older Git versions called the first branch master. main is the modern default and what GitHub uses, so line them up now:
git config --global init.defaultBranch mainWant to check what you've set? git config --global --list prints it all back. There's more you can tune here later. The official guide on first-time Git setup covers editors, line endings, and the rest, but name, email, and default branch are the three that matter on day one.
Turn a folder into a repository
Here's where Git starts watching a project. Make a folder, go into it, and run git init:
mkdir recipe-app
cd recipe-app
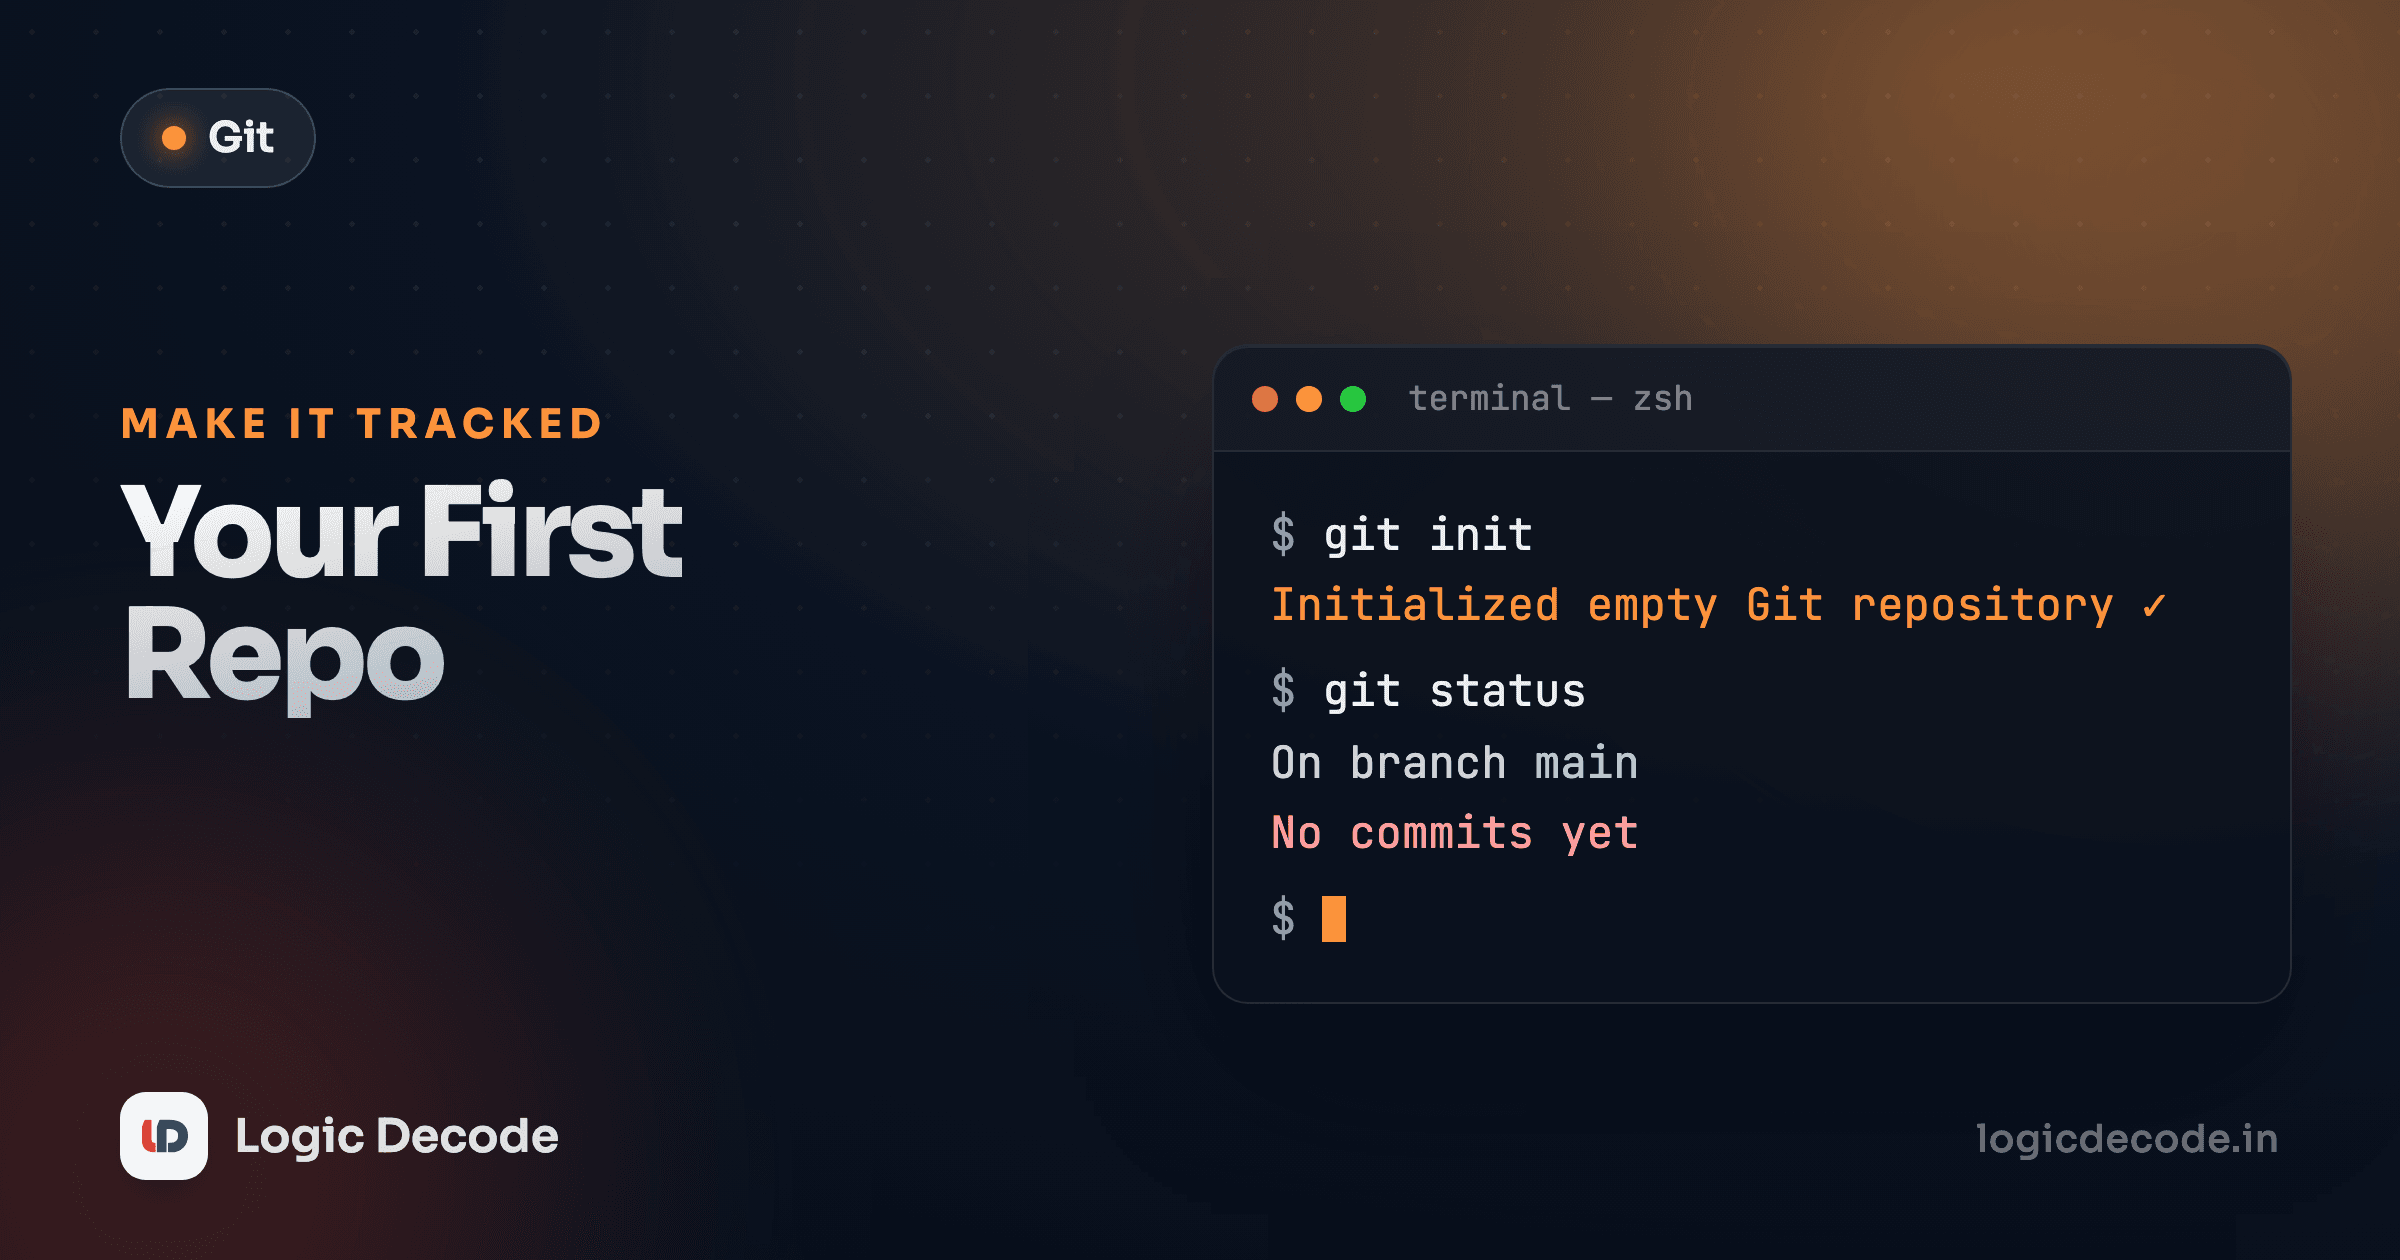
git init
Git replies with something like Initialized empty Git repository in /home/maya/recipe-app/.git/. That one command is the whole act of "putting a project under version control." Before it, recipe-app was a plain folder. After it, it's a Git repository.
What changed? Git created a hidden folder called .git inside recipe-app. That folder is the repository. Every commit, every version, every branch, all of your project's history lives in there. Your actual files (the recipes, the code) sit next to it as normal. The .git folder is the brain that remembers all their past states.
A few things worth knowing about .git:
- It's hidden, so a plain
lswon't show it. Usels -ato see it. - You almost never open or edit it by hand. You talk to it through
gitcommands instead. - Delete the
.gitfolder and you delete the history. The folder goes back to being an untracked plain folder, with your current files untouched but their past gone.
Quick check
What does the .git folder contain?
Read git status
git init gives you an empty repository. Git is now watching the folder, but it isn't tracking any files yet. The command you'll run more than any other, by far, is git status. It answers one question: where do things stand right now?
Add a file to the project, then ask:
echo "# Recipe App" > README.md
git status
Git tells you something like this:
On branch main

No commits yet

Untracked files:
  (use "git add <file>..." to include in what will be committed)
        README.md

nothing added to commit but untracked files present
Read it line by line, because git status is talking to you. On branch main says you're on the branch you set as default. No commits yet says you haven't saved a single version. And the important part: README.md is listed under Untracked files.
Untracked means Git can see the file sitting in the folder, but it isn't watching it yet. The file exists, Git just isn't recording its changes. New files always start untracked. Git never assumes you want a file in version control until you tell it so. That telling-it-so step is staging, and it's the next lesson. For now, the point is that git status is your dashboard: run it any time you're unsure what Git thinks is going on, and it'll tell you in plain words, usually with the exact next command in the hint.
The three areas, in one picture
Everything you'll do in Git moves files between three places. It's worth seeing this once now, because the rest of the series is really just this picture over and over:
The working directory is your actual folder, the files you edit, exactly as they are right now. The staging area is a holding zone where you gather the specific changes you want in your next save. The repository is .git, the permanent record of every version you've committed.
So far you've only touched the working directory. You made README.md, and git status confirmed it's sitting there, untracked. git add will move it into staging, and git commit will write it into the repository as your first saved version. Don't worry about running those yet. Just hold the shape of it: edit here, gather there, save into history. Three steps, three places.
Why a separate staging area?
It feels like a pointless extra step at first. The payoff: it lets you commit some of your changes and not others. Edited five files but only two belong together in one save? Stage those two, commit, then handle the rest. You'll appreciate it the first time you want a clean, focused commit instead of a messy grab-bag.
Recap and what's next
You did the real setup, not the hand-wavy version. Git is installed and you proved it with git --version. You told Git who you are with git config --global user.name and user.email, and set main as your default branch. You turned a plain folder into a repository with git init, which created the .git folder that holds all history. And you learned to read git status, your always-available dashboard, and what untracked means for a brand-new file.
You've got a repository with one untracked file just waiting. Time to actually save it. Next up: staging and commits, where git add and git commit turn that loose file into the first version in your project's history.
If you skipped straight here and you're still not sold on the whole idea, back up to Why Git? first. It makes the case before you spend time on the commands.

Written by
Rhythm Bhiwani
Engineer and relentless builder, happiest reverse-engineering hard problems until they click.
Enjoyed this?
Tap the heart to leave some love.
Be the first to react
Comments
Join the conversation.
Loading comments…