What happens when you type a URL and hit enter
The full journey from keystroke to rendered page: DNS, TCP, TLS, HTTP, and rendering. The map this whole networking series fills in, piece by piece.

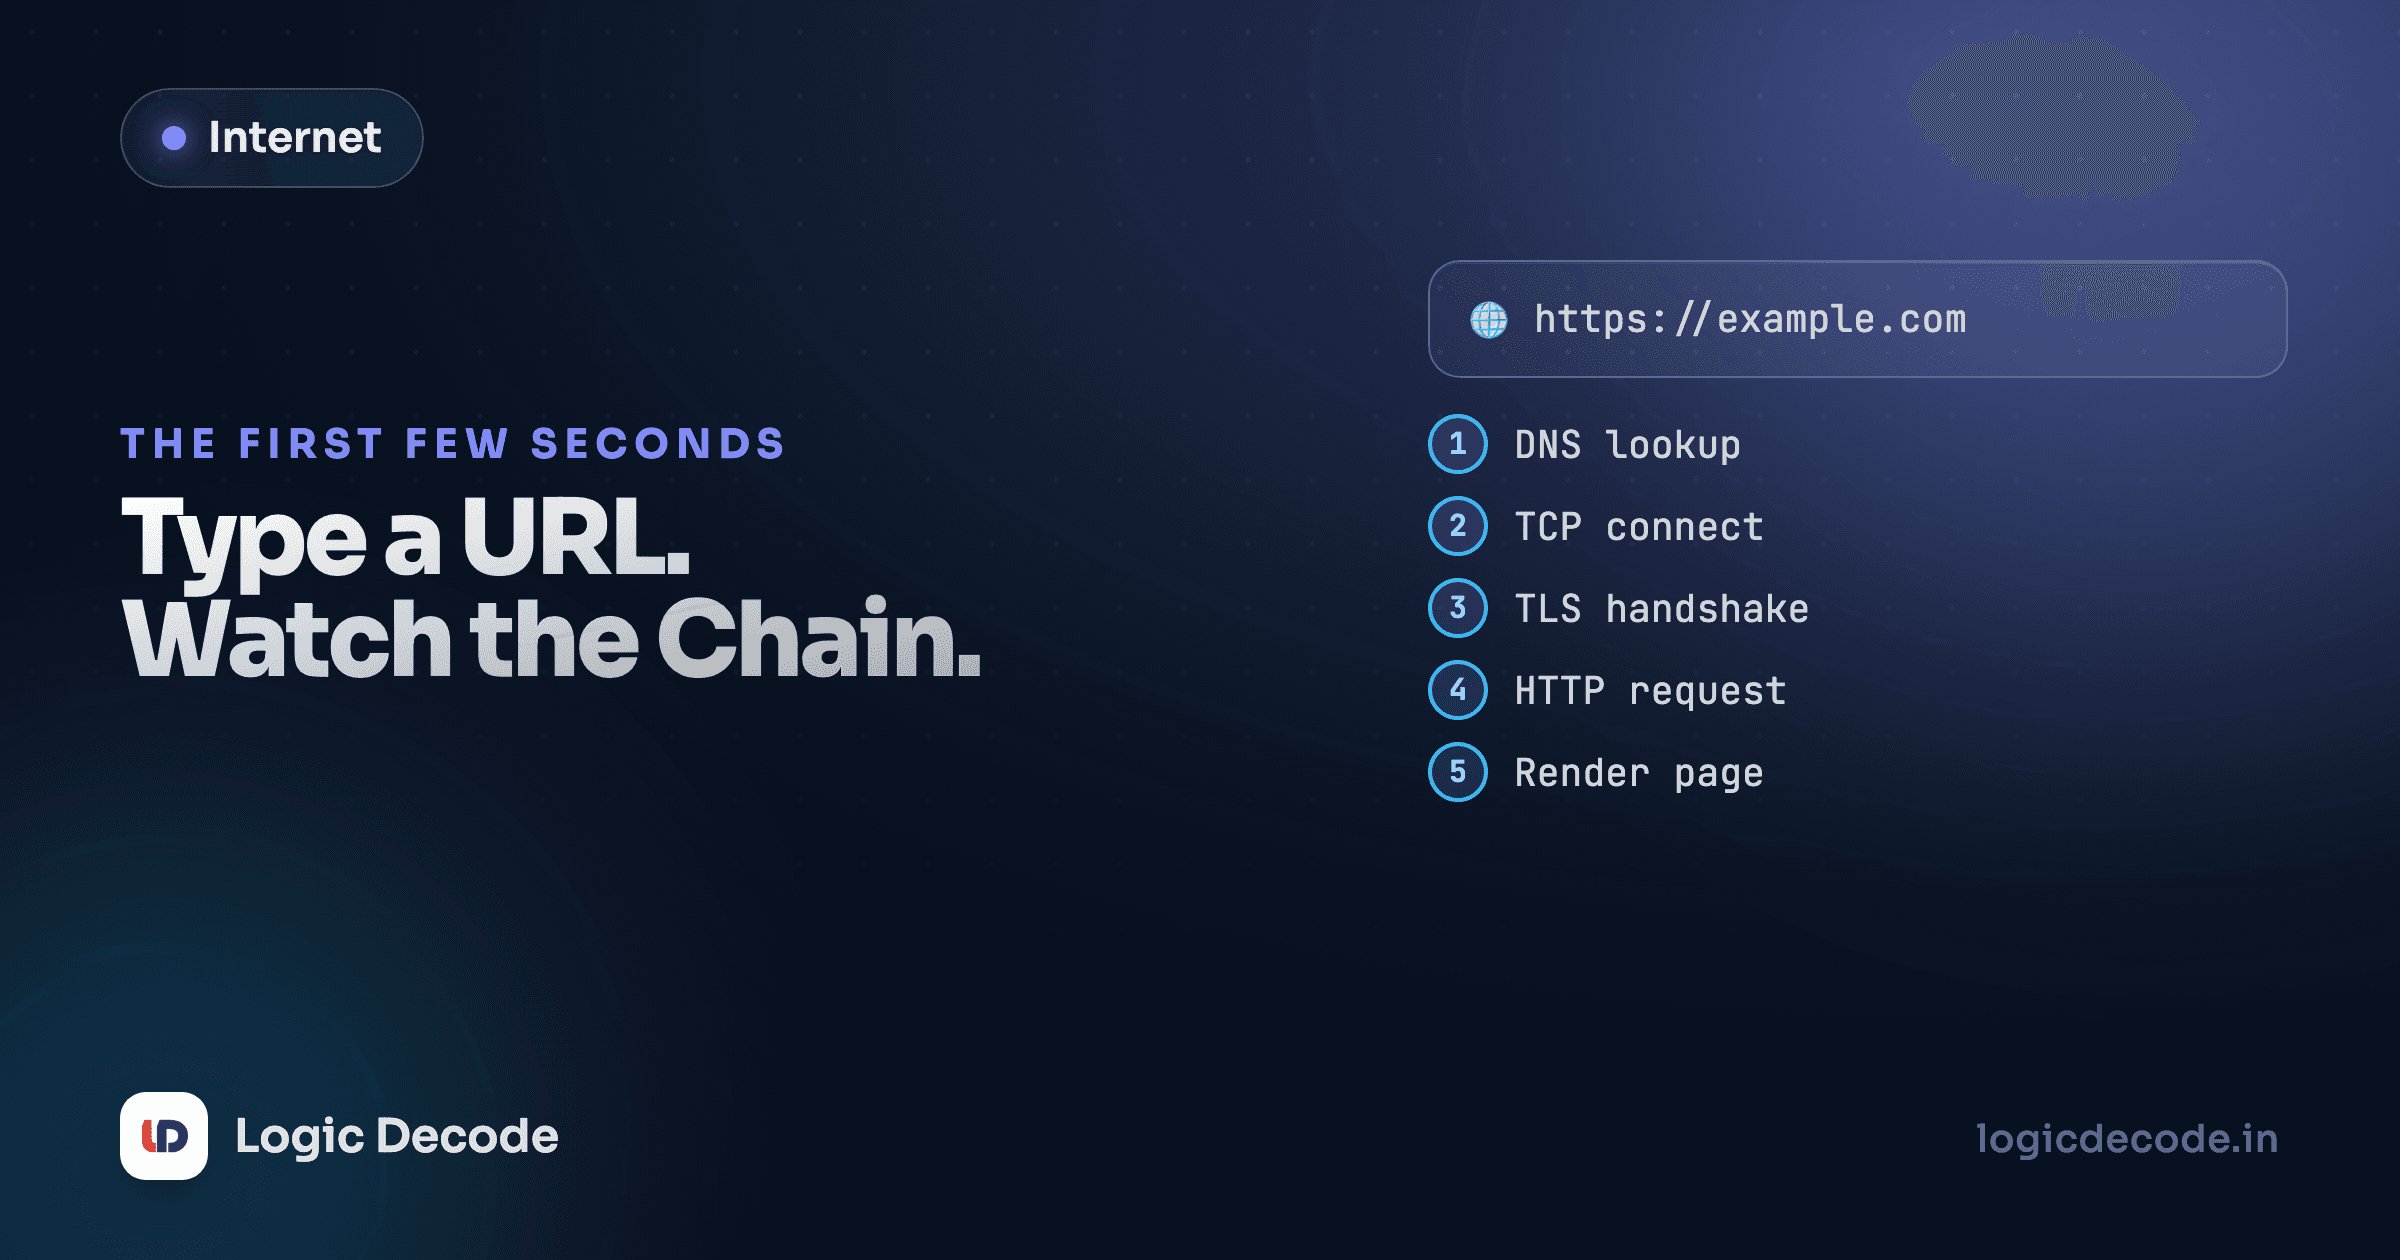
You type logicdecode.in into the address bar, hit enter, and a page shows up a few hundred milliseconds later. Nothing about that feels remarkable, which is exactly the problem. Underneath that pause, your computer looked up a name, opened a connection, negotiated encryption, sent a request, and rendered a response, and it did all of that across a chain of machines you've never seen and don't control. Every bug you'll ever chase in a web app lives somewhere in that chain.
This lesson is the map. It's also the first lesson in this series, so it deliberately goes wide instead of deep. Every step gets its own dedicated lesson later. Right now the goal is to see the whole shape, so that when lesson 5 talks about HTTP headers or lesson 7 talks about TLS, you already know where that piece sits.
The example: Sam loads a blog post
Sam opens a laptop, types blog.logicdecode.in/why-git into the browser, and presses enter. Here's everything that happens before a single pixel of that page appears.
1. The browser parses the URL
First the browser just reads the text. https://blog.logicdecode.in/why-git breaks into a scheme (https, meaning "use TLS"), a host (blog.logicdecode.in), and a path (/why-git). No network activity yet. The browser is just figuring out what it's about to ask for.
2. DNS turns the name into an address
Computers don't route traffic by name. They route by IP address, a numeric identifier like 192.0.2.10. So the browser's first real job is to ask: what address does blog.logicdecode.in point to? That question goes out to a system called DNS, the Domain Name System, which is really a distributed directory spread across millions of servers worldwide.
Sam's laptop checks its local cache first. If the address isn't there, it asks a resolver (often run by the ISP, or a public one like 1.1.1.1), which may in turn ask a chain of other servers before it gets an answer. Lesson 3 walks this whole chain step by step, with a resolver you can click through yourself.
3. TCP opens a connection
With an IP address in hand, the browser needs to actually connect to that machine. It does this over TCP, the Transmission Control Protocol, which sets up a reliable two-way pipe between Sam's laptop and the server. This is the three-way handshake you'll see mentioned everywhere: SYN, SYN-ACK, ACK. Three small packets, and now both sides agree a connection exists and are ready to exchange data. Lesson 4 covers why TCP does this and what UDP skips instead.
4. TLS encrypts the connection
Because the URL used https, the browser doesn't send its request yet. It first negotiates TLS, Transport Layer Security, on top of the TCP connection. This is the handshake that produces the padlock icon: the browser and server agree on encryption keys so that everything sent afterward, including the request itself, is unreadable to anyone snooping on the network in between. Lesson 7 steps through this handshake message by message, including why TLS 1.3 does it faster than TLS 1.2.
5. The browser sends an HTTP request
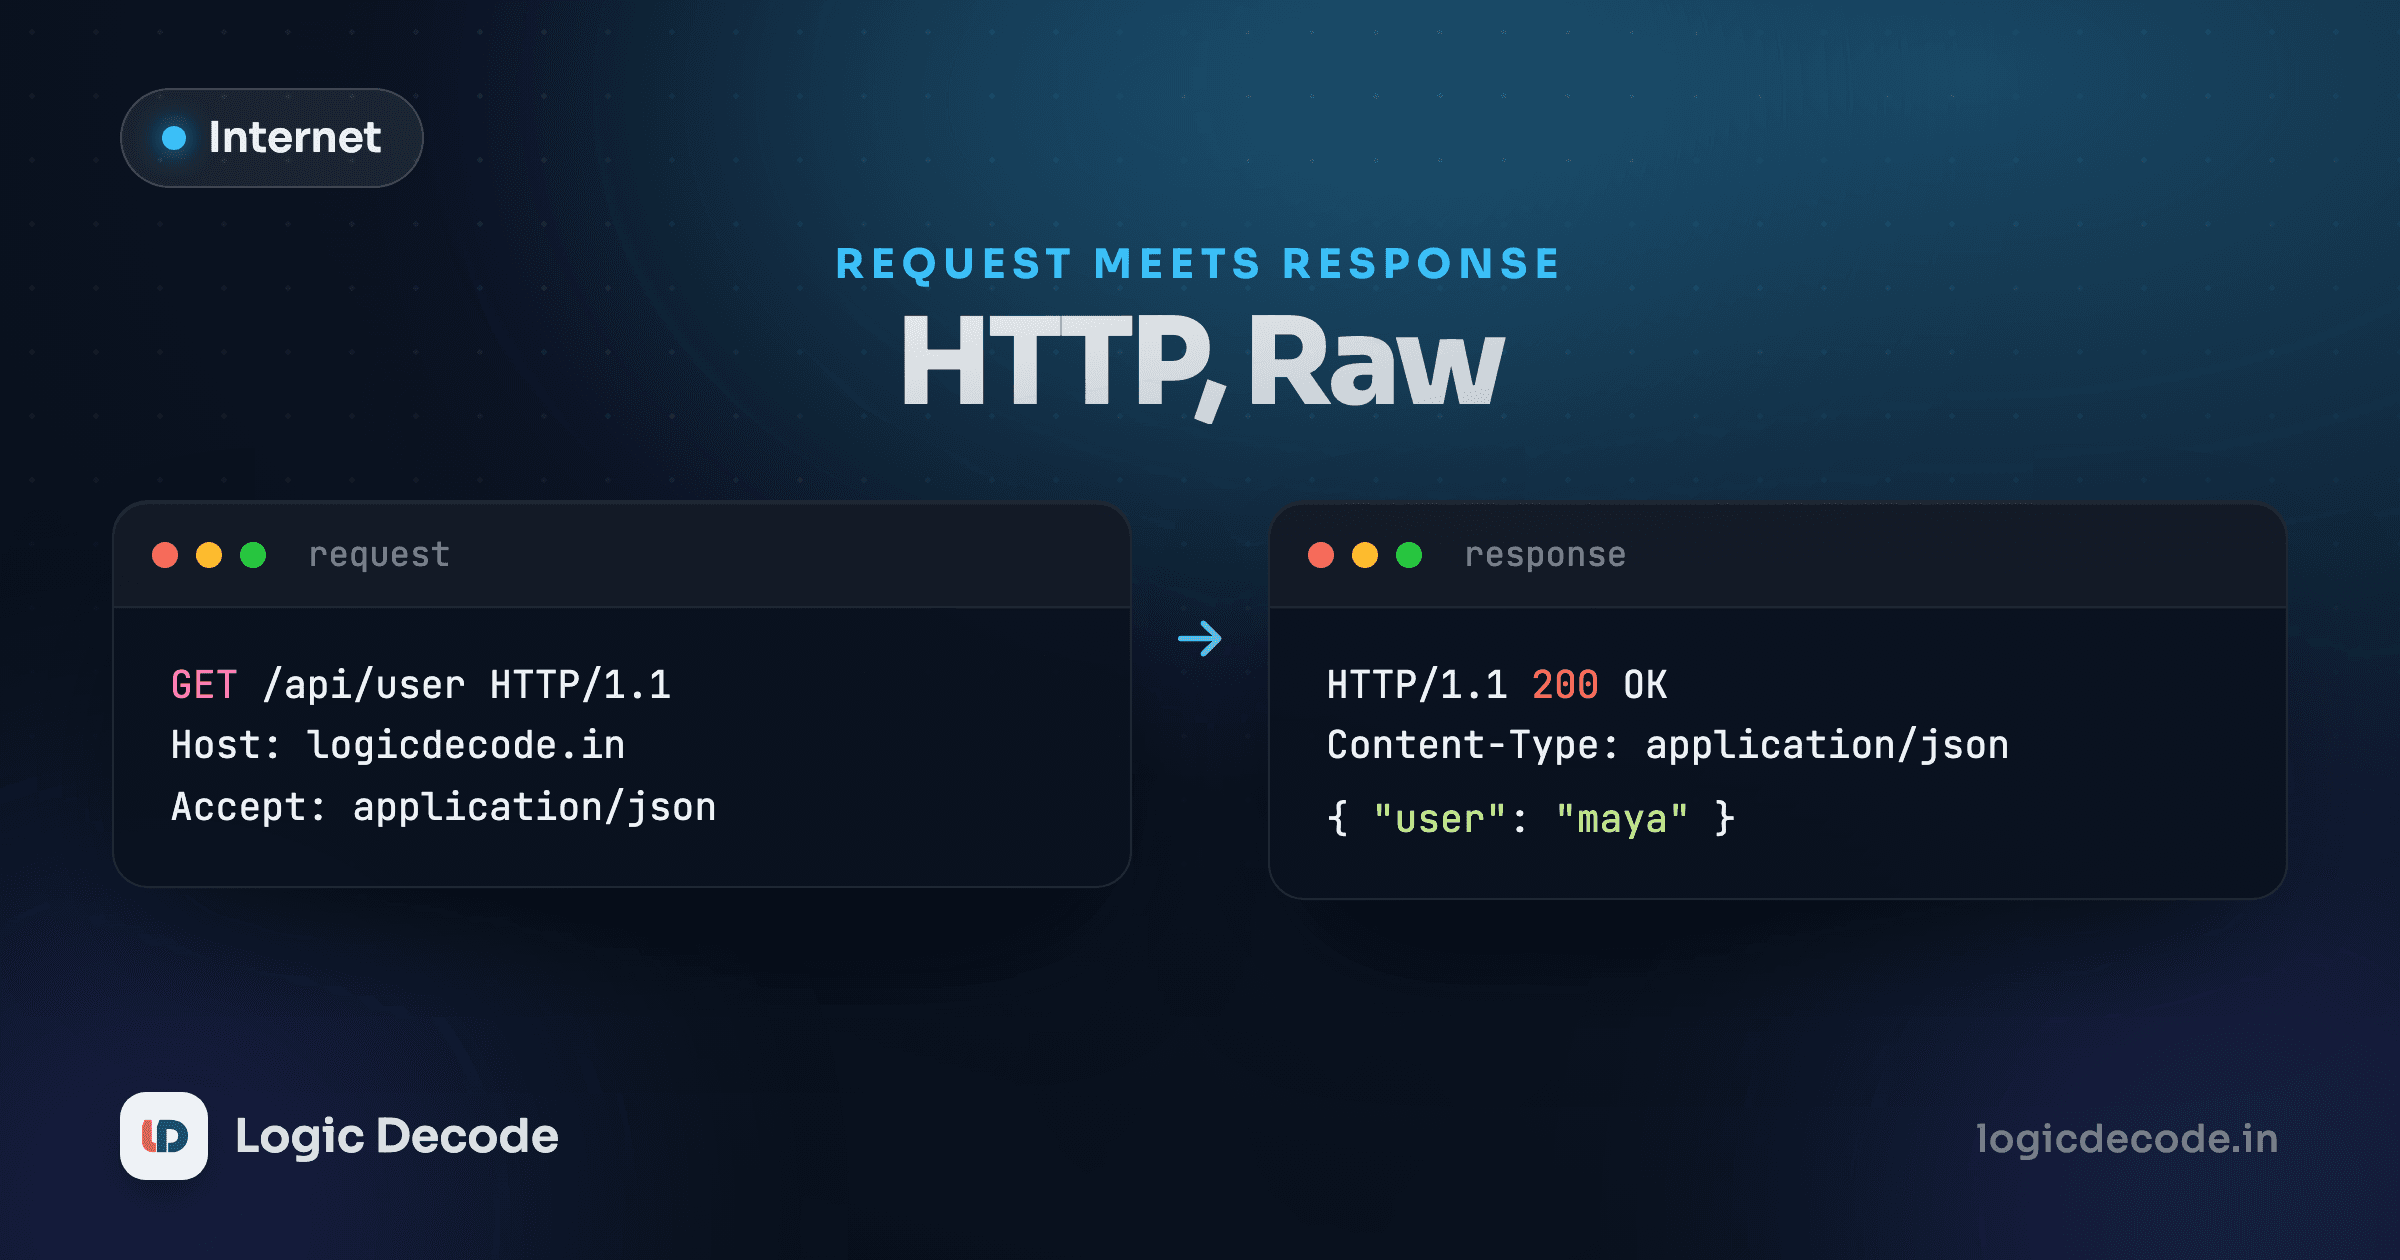
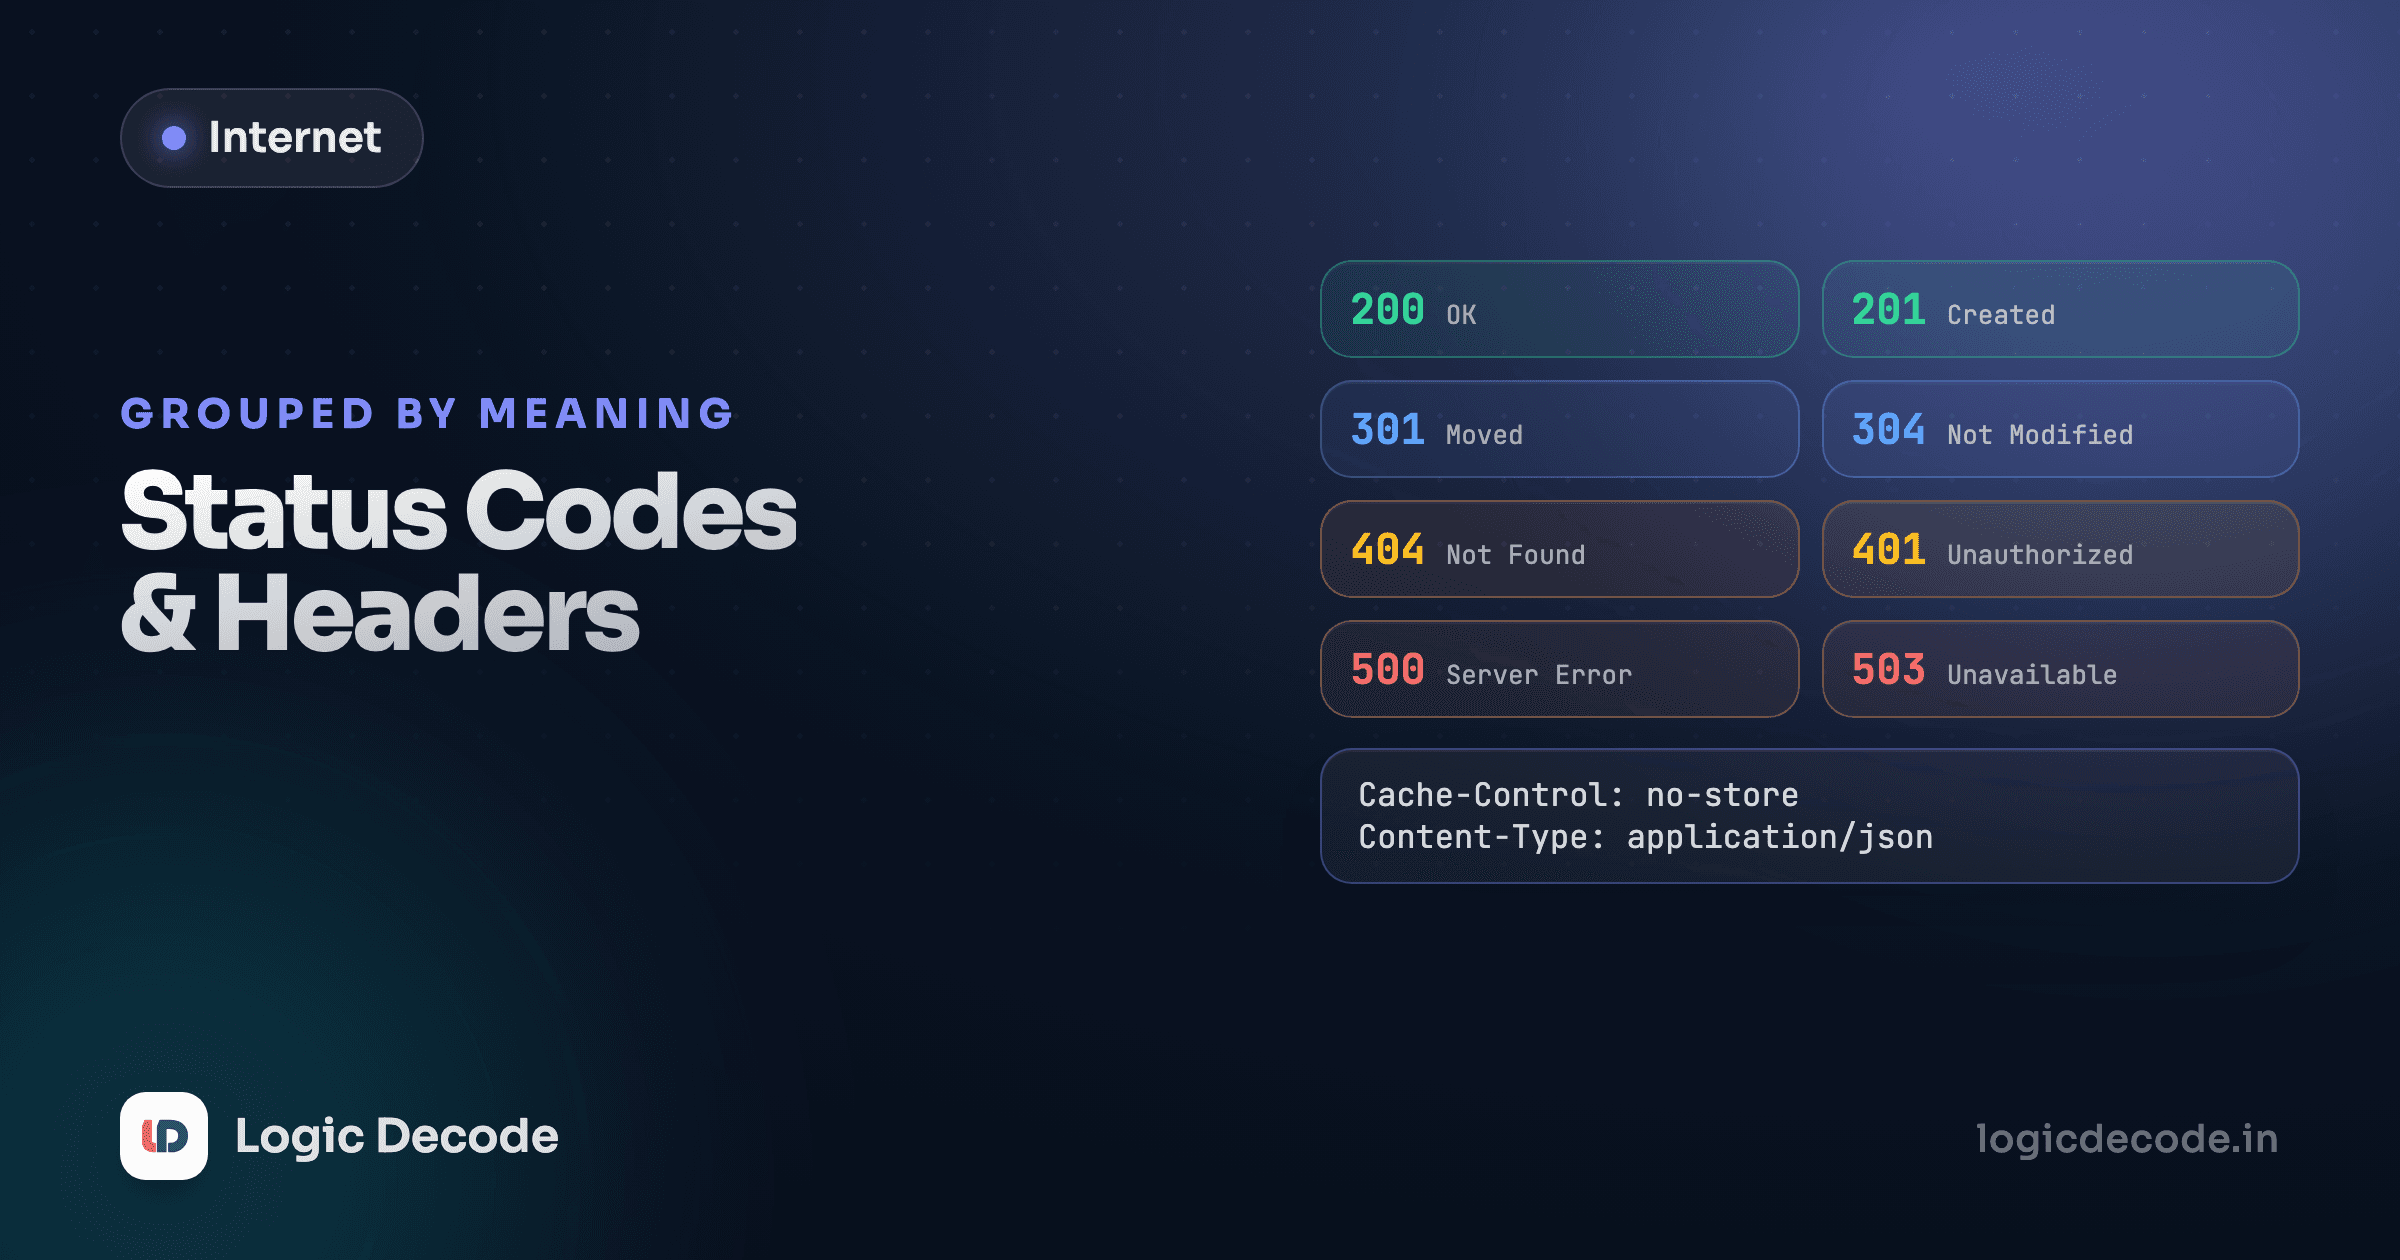
Now, finally, the actual ask. The browser sends an HTTP request: a plaintext (well, now encrypted) message that says, roughly, "GET me the resource at /why-git, and here's who I am and what I can accept." The server reads that request, decides what to do with it, and sends back an HTTP response: a status code, some headers, and a body, usually HTML. Lessons 5 and 6 cover this request/response contract in detail, including the status codes that actually matter.
6. The browser renders the page
The response body arrives as raw HTML. The browser parses it, discovers it references a stylesheet and a few images, and fires off more requests for each of those (often reusing the same TCP and TLS connection instead of repeating steps 2 through 4 from scratch). It builds a visual layout from the HTML and CSS, paints pixels to the screen, and somewhere in there, Sam sees the page.
Why the order matters
Notice the dependency chain: you can't do step 4 without step 3, and you can't do step 3 without step 2. This isn't arbitrary layering for its own sake. Each step solves a problem the one before it couldn't. DNS solves "which machine," TCP solves "how do we talk reliably," TLS solves "how do we talk privately," and HTTP solves "what are we actually asking for." Strip any one of them out and the layer above breaks.
This is also why "the website is down" can mean five completely different things. DNS might be broken (wrong record, expired domain) and the browser never gets an address to try. TCP might fail (server down, firewall blocking the port) and the connection never opens. TLS might fail (expired certificate) and the browser refuses to proceed, showing you a warning instead of a page. Or everything up through TLS might work fine, and the server itself just returns a 500 because of a bug. Being able to place a failure in this chain is most of what separates "I don't know why it's broken" from "I know exactly where to look."
Quick check
A user reports the site loads over HTTP but their browser shows a certificate warning and refuses to load it over HTTPS. Which step in the chain is most likely failing?
Two things that will save you time later
"The internet" is not one thing you can point at. It's a stack of independent protocols, each solving one narrow problem, stacked on top of each other. DNS doesn't know or care what TCP does. TCP doesn't know or care what's inside the bytes it's carrying. This separation is deliberate, and it's why the internet has been able to evolve one layer at a time (HTTP got a near-total rewrite twice, which lesson 8 covers, without anyone needing to touch DNS or TCP).
Every one of these steps has real, measurable cost. DNS lookups take time. TCP and TLS handshakes take round trips across a network that has physical latency. This is why a second visit to the same site loads faster than the first: the DNS answer is cached, the connection might be reused, and the browser might not need to re-download anything at all. Lesson 11 covers caching and CDNs, which exist almost entirely to cut this cost down.
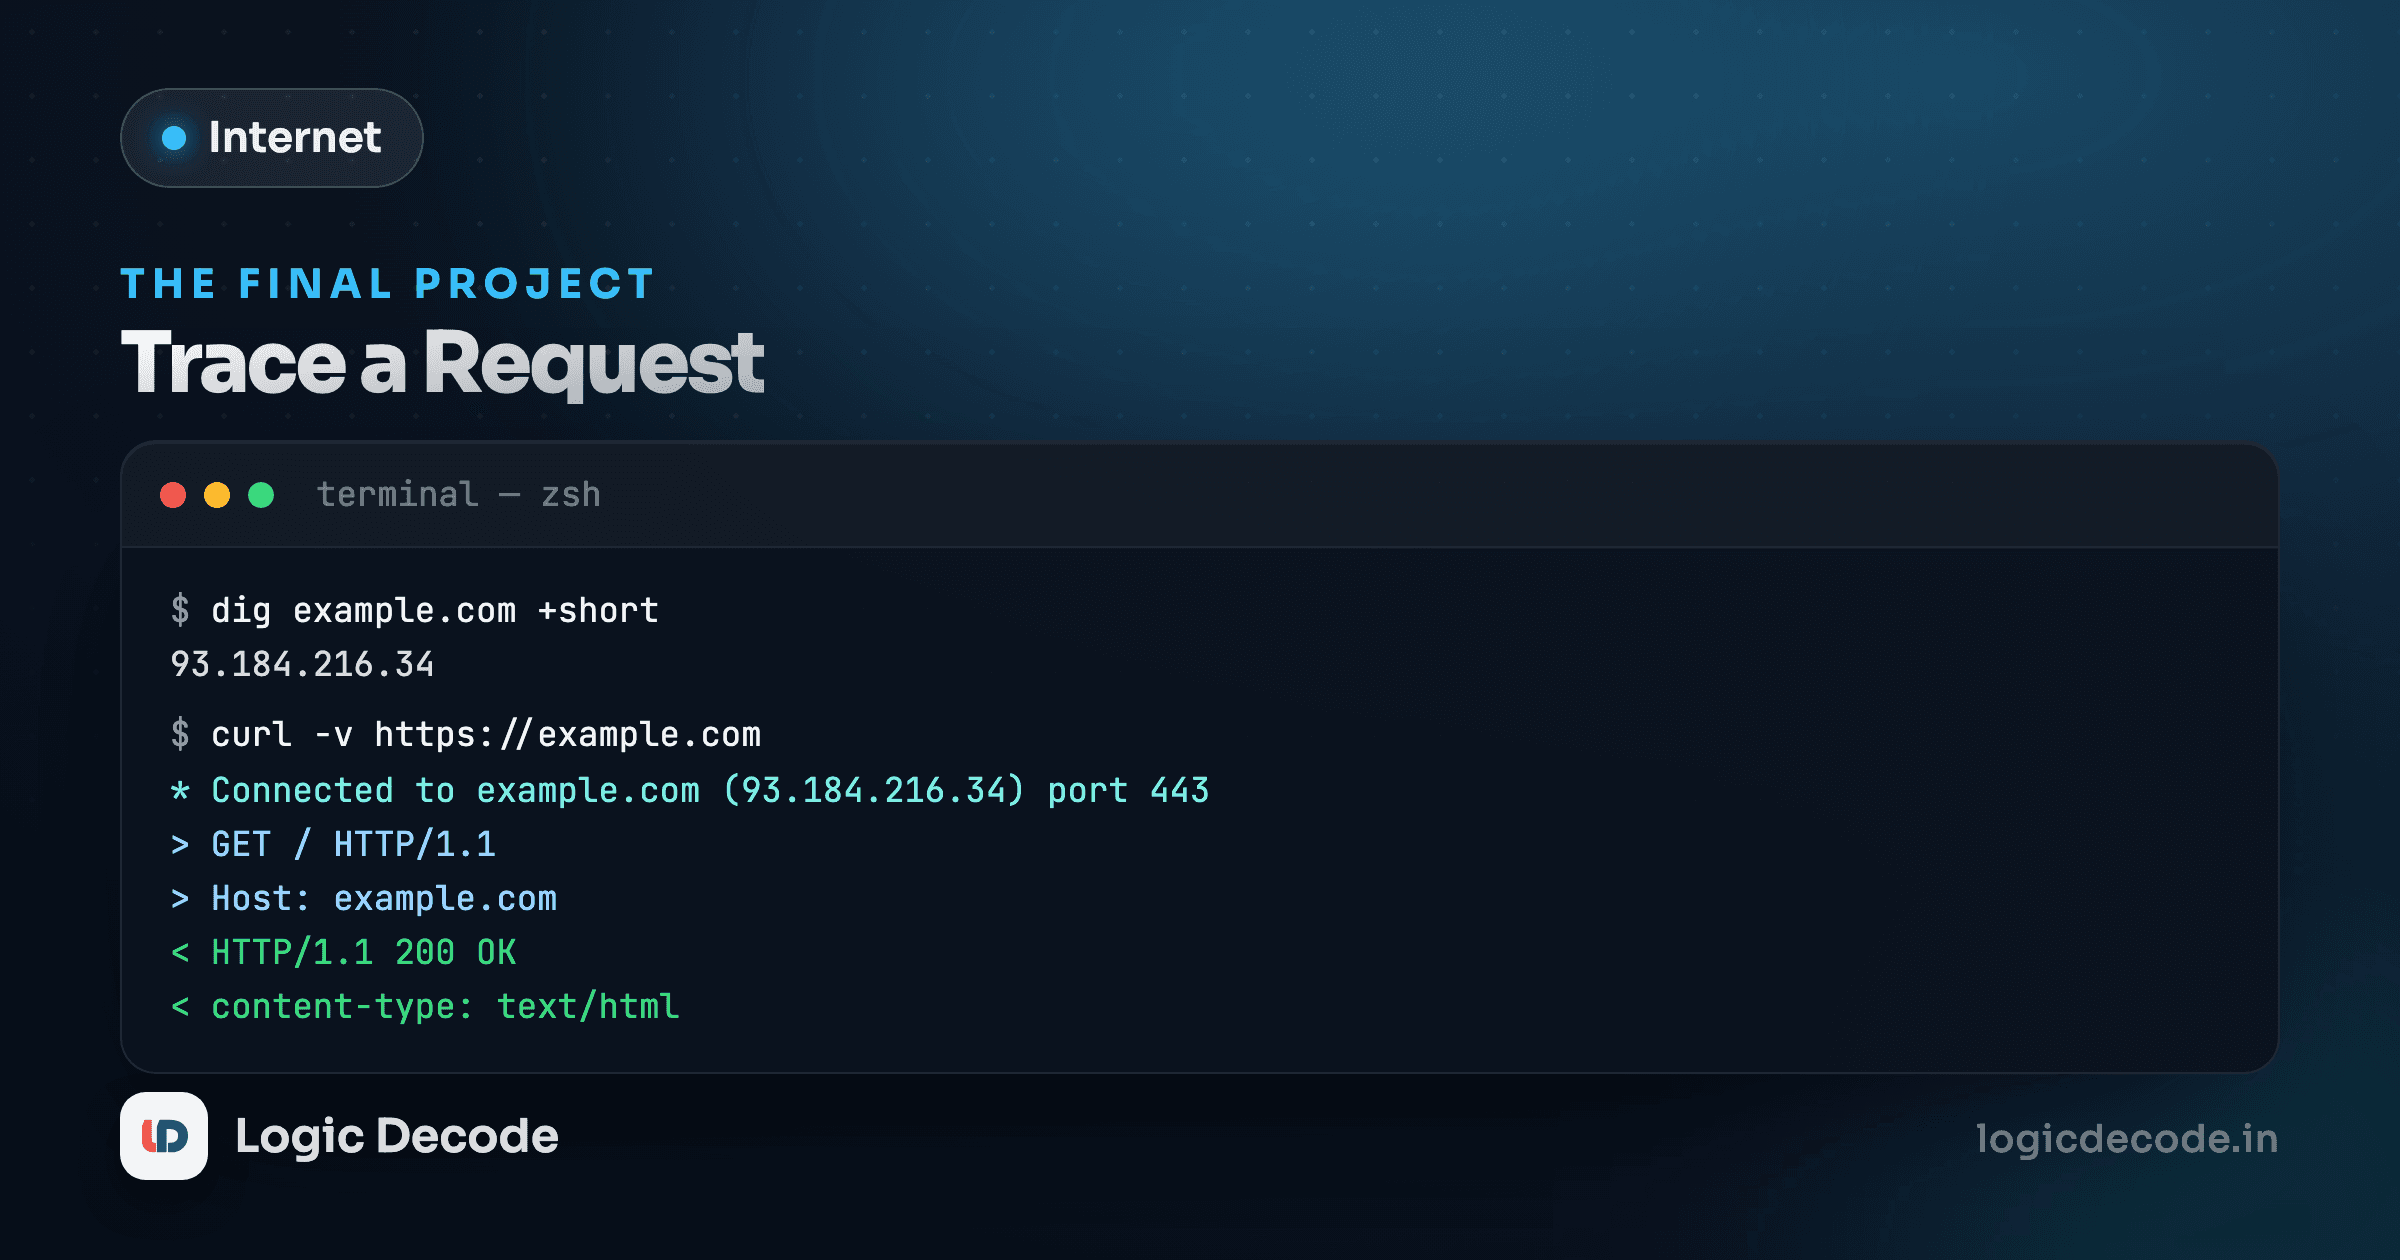
You don't need to memorize any of this yet. Over the next eleven lessons we'll take each step apart, run it in an interactive visualizer, and by the end you'll trace one of these requests yourself with real command-line tools. If you haven't used a terminal much, this command-line series is worth a detour first, since lesson 12 leans on it directly.
Next up: before DNS can look anything up, you need to understand what it's looking up for. On to IP addresses and packets.

Written by
Rhythm Bhiwani
Engineer and relentless builder, happiest reverse-engineering hard problems until they click.
Enjoyed this?
Tap the heart to leave some love.
Be the first to react
Comments
Join the conversation.
Loading comments…